
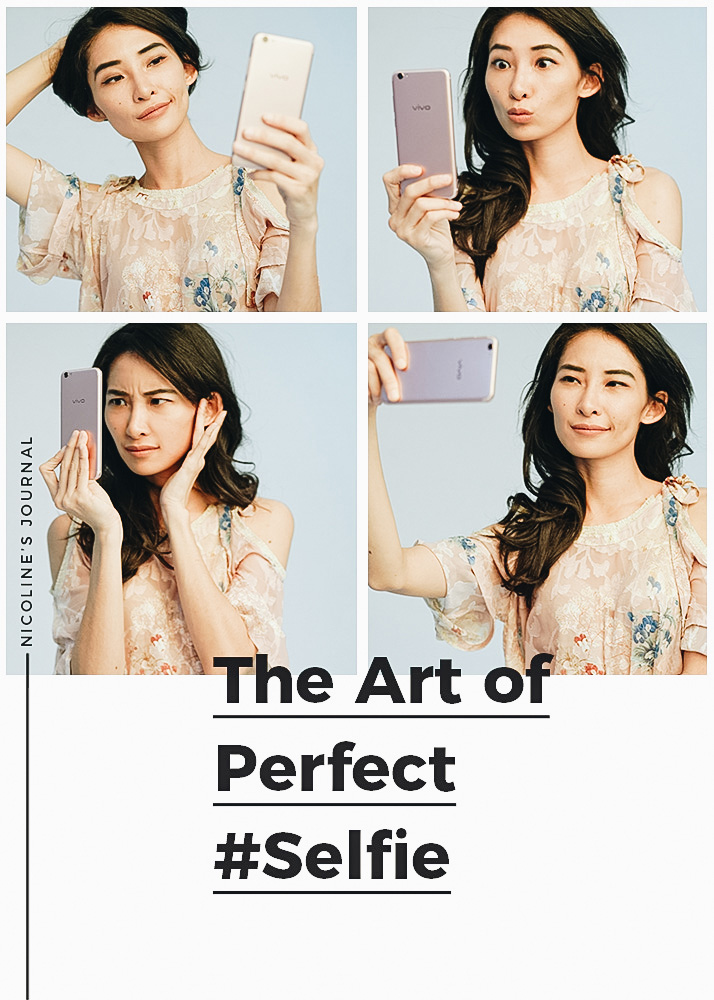
Whether you like it or not, we are living in a selfie-era. Admit it, no matter how modest or shy you are as a person, you’ve used your front camera at least one to take a beautiful/slay/silly snap of yourself (unless you happen to be… Anna Wintour.) On another case (and another level or selfie-nity), if you’re the person who has taken hundreds of selfies but still wondered why none of them is as good as the model/celebrity/fashion bloggers’ selfies (you know those ones… the one when like they’re having the best time of their fabulous life with everything falling right into its place and they just happened to grab a snapshot of that moment), then this journal here today is for you.
I love shooting and posting selfies as much (and as shamelessly) as the next girl on IG. I love looking at other peoples’ selfies as well, especially when they’re done beautifully. But sometimes I will bump into someone’s feed; someone definitely way beyond attractive but possesses a selfie skill that’s somewhat… lacking. I’m talking about a sea of bad, blurry and distorted selfies. Girlll you have the eyes and lips and everything… don’t you want to take better shots? Don’t get me started on the doll-like-too-smooth filtered face.
A good selfie requires a bit of effort, lighting knowledge, posing practise and a whole lot of shameless vanity. Don’t get put off though, because these first three things are SO EASY to learn. Here are a handful tips for you to gain more selfie-steem and step up your selfie game: (warning, there more selfies featuring the face of yours truly than you probably would like to see… bear with it abit aight)
Lighting
This is the single, most important aspect of selfie taking (and of photography in general). Lighting will make and break your selfie. Ever notice why some photos taken inside certain places make your face look darker and weird? Artificial lights like neon/halogen/LED lights can create harsh shadows on your face. A direct midday sunlight will also cast unflattering dark areas under your eyes and nose. Worry not, because there are even more sources of flattering lights for your photos:
- Morning light and golden hours outside, when the sun is low and the most beautiful. Nothing compete with these two.
- Sitting by the window when you’re indoor. The window light is hands down the most flattering because it diffuses natural light.
- Inside the front seat of the car (please do not take selfies when you’re driving)
- Backlight. If you’re outside, try both shooting with the sunlight in front of you and another one with the sun behind you. When the sun’s shining too strong, it will create unflattering shadows under your eyes, nose and chin so sometimes it’s better to diffuse the light by standing right behind it.
- This is my favorite: Play with the lights and shadows! Standing by the curtain, windows blinds or tree branches will make the shadow fall on your face in the most interesting shapes and textures.
Outfits
I don’t wear that much make up and my hair is a mess 24 hours a day so I don’t think I’m competent enough to give you advice on grooming and make up. But outfit wise, i can tell you a thing or two.
Go for the adorable top with details on the collar, sleeve or shoulder, because those are the most visible part of the selfie. If you’re feeling vibrant, experiment with bold prints and colors! If you’re more comfortable in neutral palette, don’t forget to accessorise. A small necklace, bracelets, earrings, rings or a thin scarf wrapped around your neck will give an instant stylish boost to your selfie. Below are my curated picks for some stylish selfie outfits:
Posing
The first universal flattering selfie angle is: Hold the camera above eye level and turn your face slightly, at a three-quarter angle. If you’re a girl reading this, I’m sure you know which side’s your best angle at. Mine is from the left part of my face; pretty much explains why I keep tilting my head on the same direction almost on every single selfie (Guilty no.1)
The second most flattering selfie angle is: Hold your camera just slightly higher than your chin and tilt the screen up. “But what about my hundred triple chins???” Relax, my young padawans. On this angle, I recommend you to tilt your chin slightly up so it will expose your jawline and make your neck longer.
Try out some poses with your hands around your face, under your chin, ‘fixing’ your hair behind your ear (my pose ALL the time… GUILTY NO. 2.) Keep practising until it looks natural… Preferably when noone’s around. Don’t give up by a few failed attempts, so when the light is right and the location’s all great, you’ll strike that pose oh so nonchalantly.
Rather than sitting down pretty in a cafe, a drinking pose with a cup of coffee (or your other preferred drink) will give more story to the picture. Use the props around you and say goodbye to boring selfies. My favorite things to hold are: my camera (obviously), my records and a book (who cares whether you really read it or not? Instagram’s not real anyway.)
Background
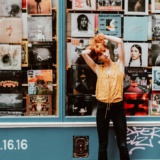
Matching your outfit with your background will definitely create a fun and eye pleasing composition, so don’t skip any walls with vibrant colors or cute murals.
Sometimes you happen to be in a place with amazing light but with distracting background. The only way to save the photo from all that clutters is to blur the whole damn thing and let your viewer only focus on YOU. Do you know that some smartphone nowadays can act and perform like the high-end camera lenses with wider aperture? That means you can create your own portrait with the beautiful bokeh/blurred background like the ones shot by professional photographers. The Vivo V5+ smartphone has TWO built in front camera which allows you to shoot up to f/0.95 aperture. And if you happen to accidentally miss your focus, you can actually re-adjust the sharp areas after taking the shot! How easy is that?

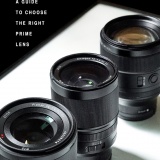
Camera
Most of the selfie how-to guides will tell you to use your phone’s back camera for a higher quality selfie. But things have changed this year with smartphones like Vivo V5+ (which is my go-to selfie phone) offering a full blown TWENTY megapixel resolution Sony IMX376 sensor (in other words: super high quality images) from the front camera! That means a full control of your selfie because, unlike using the rear camera when you have no idea what’s going on and how your selfie would turn out; you get to see, frame and compose your shot easily.
Other Equipment
Elbows and hands can be distracting when they’re visible out of your selfie’s corner. If you’re really serious about improving your selfie game (I’m trying to make this sentence sounds less shallow than it actually is), you gotta have one of these helpers. They’re inexpensive, easy to use and definitely will reach further than your extended arm, thus will include more background/story/body part.

- Bluetooth remote: This is the answer for the half body/full body selfie. It’s so tiny you can hide it inside your palm and you will get a much more spontaneous expression than when using timer. They cost IDR50.000 (USD$4) or less in Blibli or ebay.
- Mini tripod: Your best bet would be the gorillapod or the small, inexpensive table tripod. I have both the gorillapod on medium (for my phone) and large size (for my camera); they are both great for traveling because they’re light and can be mounted almost everywhere. The table tripod is usually sold with a removable bluetooth remote included.
- Rubber holder: Stick this 3M rubber sticker to your phone case. It has a suction pad which allows you to just stick your phone to surfaces like glass, mirror, metal, tiles and many more.
Why is the world famous selfie stick not up there on the list? Personally it’s not my weapon of choice, but anything that floats your boat is fine. I guess I’ve had too many bad experiences with tourist walking with their extended selfie sticks, smiling at the camera aaaand… accidentally poked people (me) who’s walking in front of them. And selfie sticks photos usually still features the cheesy ‘extended arm in the photo’; while the tripod won’t.
Editing
- Crop unwanted distraction from your photos! Unless the photobomber happens to be a dear friend.
- If your background is way too distracting and even blurring can’t save it,
ditch the photo and take another one, apply the black & white filter. It can save your photos and make them look even more dramatic with a touch of vintage feel. - Don’t overdo it with the face smoothing effect! I honestly got creeps everytime I stumble upon another overly airbrushed face that looks like a store mannequin. Instead of using auto-beautifying, erase your unwanted zits/blemishes/oily parts or adjust your skin tones manually. Some great apps to do it are : Facetune (Android / iOS), Adobe Photoshop Fix (Android / iOS) and Photo Editor by Aviary (Android / iOS). Aaaand remember guys: natural adjustment, NOT digital plastic surgery.
- Now this is the fun part: Use VSCO! From tweaking exposure, cropping, rotating to adding the right filter to make your photos look like it was taken by a professional photography, this is the one and only app to do them! Check out my guide of editing with VSCO here.
- A more advanced techniques: Selective dodge & burn which you can find in apps like Snapseed (Android / iOS). You can darken any parts of the photo or conversely lighten up the other parts.
There you have it, let me know how your selfie turns out! Link me your IG handle on the comment feed so I can send some love! xxx


2 comments
Inayah
Thank you, this is a great tips..,
Bridgid Milenkovski
I had no idea those phone suction cup mounts even existed. That’s a game changer. I have a tripod for my phone but it can get pretty annoying taking the time out to set it up for a photo. I could just easily stick my phone to anything nearby for a photo with my boys and I while we’re out and about. love it.